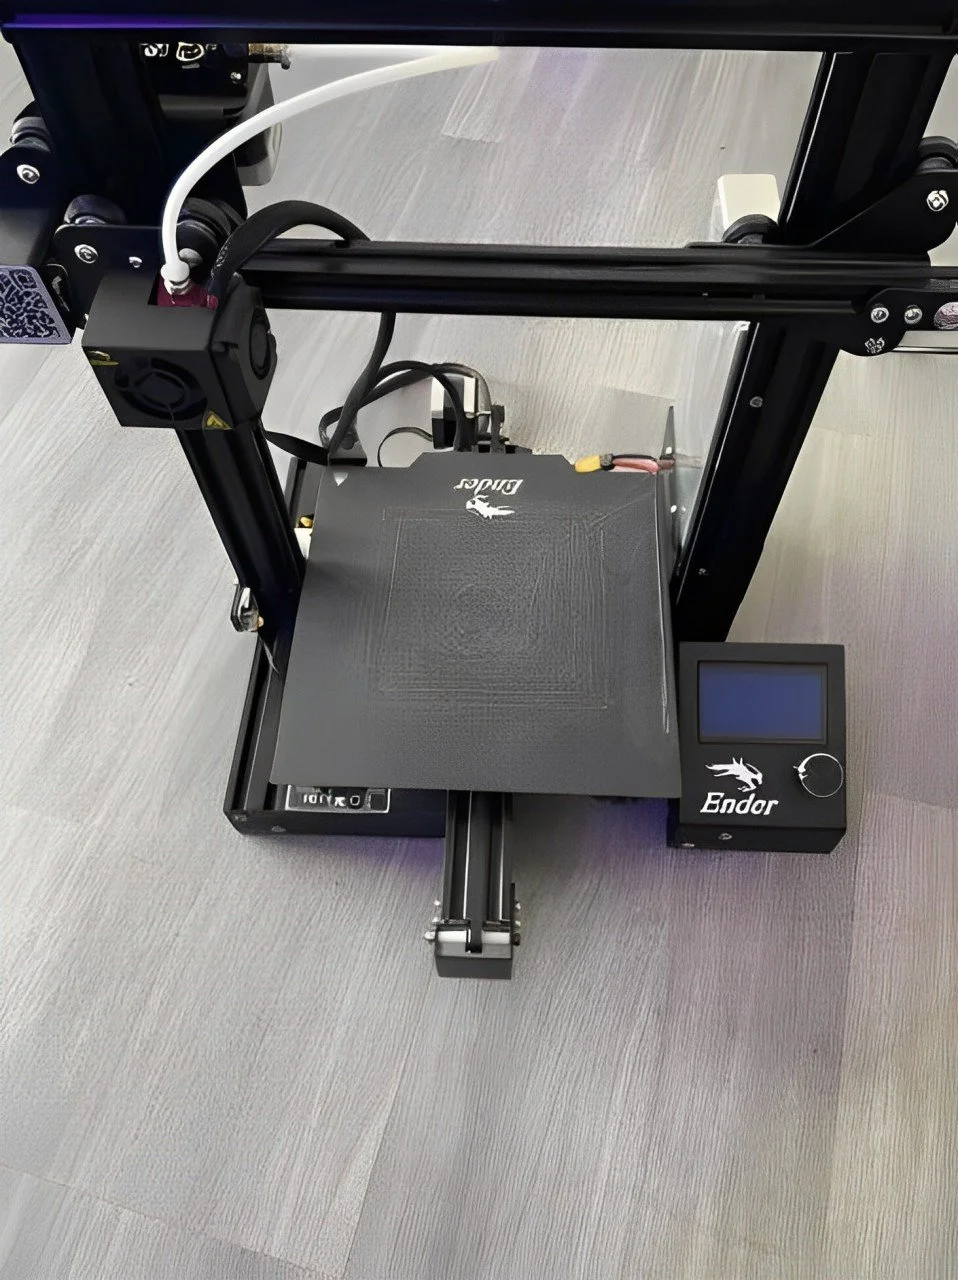
3D Printer Architecture: From Physical to Digital
The team was tasked with creating a CAD model and technical drawings of an existing object. The deliverables included a detailed 3D CAD model and accompanying technical drawings, which were presented to the class. This project focused on accurately representing the 3D printer's design and effectively documenting it for review. We chose to disassemble and model an Ender 3D printer.
Individual Contribution: CAD model and techincal drawings for three components
Part #1: Control Panel
The first part I was responsible for was the printer's control panel, a crucial component of its user interface. This project provided a strong opportunity to work with multiple planes throughout the model, designing functional and interactive parts. One such feature was the dial, which spins within the model and is constrained to reflect its real-world function.
The primary challenge accompanied the disassembly of the printer, the team faced some limitations with our measurement tools, which made it difficult to accurately capture the obtuse angle of the base in relation to the screen. Ensuring this angle was true to the original printer was critical, as it allowed the screw holes to align properly in the final assembly.
Part #2: Power Cord
When modeling the power cord, one of the biggest challenges was creating a natural geometry that would accurately reflect how a cord sits in reality. Modeling it as a straight tube would have looked awkward and out of place in the final assembly.
To address this, I used the sweep feature along a naturally curved path, which allowed me to create subtle bends and curves that gave the cord a more realistic flow. This attention to detail ensured that the cord fit seamlessly into the overall design, contributing to a more authentic and visually coherent model.
Part #3: Power Supply
The final part I recreated was the power supply, and the main challenge was designing features that needed to fit into some of the equipment's deeper, hard-to-reach areas. These sections were difficult to measure accurately with the tools provided.
As a result, I had to rely on a guess-and-check approach to fine-tune the dimensions and ensure the features aligned properly. This iterative process was essential for achieving an accurate fit within the overall assembly.


